 Pictures are an important part of your website. Without them people tend to get lost in a sea of text. They feel as though they are reading a scholarly journal, and will end up getting bored before they even make it to the end.
Too often people end up with pictures on their site that aren’t all that pleasing to look at. The reason isn’t because they don’t have a nice camera, or the fact that they can’t afford Photoshop. No, the reason is that they haven’t learned the simple trick to editing an ordinary picture into amazing.
I am going to show you how you can edit a picture into something pleasing to look at, without investing in outrageous equipment.
Professional Pictures using GIMP
 GIMP (that stands for GNU Image Manipulation Program) is a free software similar to Photoshop. Now if you’re in the photography business, Photoshop is going to be a worthwhile investment: it has way more features.
But for the rest of us, GIMP can handle every editing need that we throw at it.
Before you get started in your editing journey, go download GIMP.
Professional Pictures of a Tomato
Before starting this project, I tried to decide what to take a picture of. I didn’t want to spend a long time setting up a little studio, so it had to be small. I grabbed a tomato out of the bowl in the kitchen.
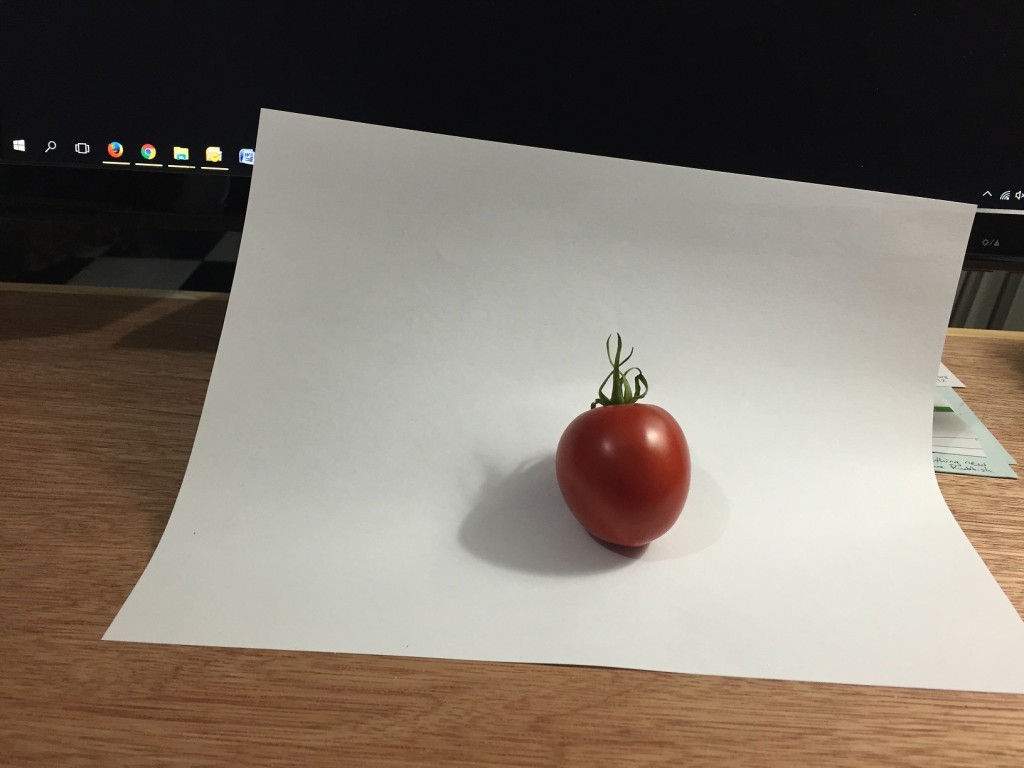
Your first step is to set up your white background. This can be a simple piece of paper as I used, or it can be a white sheet (stretch it tight to remove folds and shadows). Ideally you will want this in natural sunlight, but that can be hard to come by on many days throughout the year. For my studio I have an overhead bulb, and a table lamp. When I say studio, I mean the area on my computer desk where I moved my keyboard out of the way. Here’s my studio setup.
Nothing fancy. After setting up my studio I took about 9 pictures from different angles. I settled on one that was a little more overhead with a strong shadow to the left. By the way, I took the pictures with my iPhone 6.



Editing Your Professional Pictures
Now is the easiest part of the entire process. Editing the pictures is actually easier than setting up your studio and taking them.
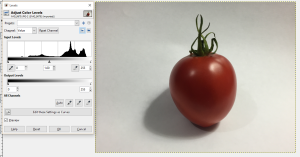
First, open your picture with GIMP, click on colors.
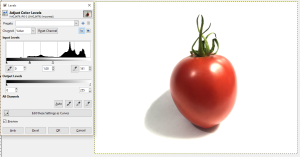
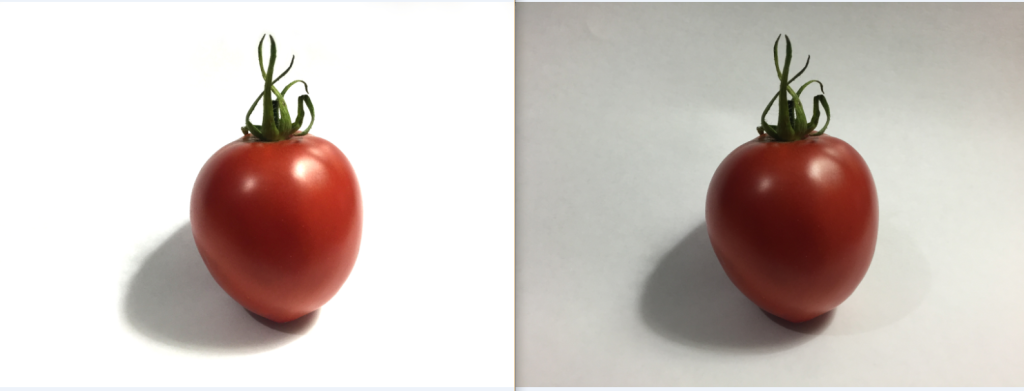
You will see a saturation chart. Grab the white arrow and drag it to the left. While you drag the arrow, the picture will brighten. As you can see in the bottom right hand picture below, I went a little too far (the tomato got washed out). So I dragged it back.
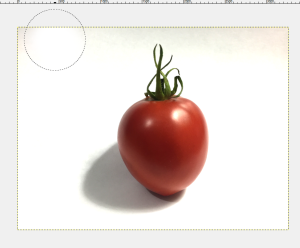
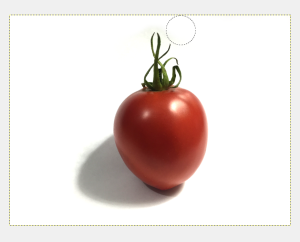
Now there are still areas around the edges that need cleaned up. I used the eraser tool with a size of about 800 to clear the bulk of the stuff. I then reduced that size to get closer in. And I finally dropped it to about a 15 to get between the leaves on the stem.
To save your image, you can’t just click save. Doing so saves it as a GIMP file and that’s a pain. Instead, hit file, and then export it.
That’s all there is to it. Now compare the two images. On the left is the edited image, ready to be used to show off on any tomato site; on the right is the original that just doesn’t pop the way it should.
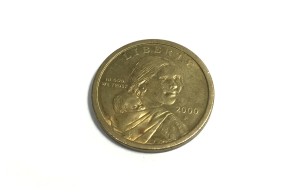
Basically any object can be edited to make it pop. Here is the final tomato and more “professional pictures”.
Scott Sery runs Sery Content Development
If you are a business owner, you don’t have the time to edit pictures, write content, and perform search engine optimization (SEO). That’s ok, that is why Sery Content Development is here. If you are looking to get your business FOUND online, call us at 406-839-7787, send an email, or fill out the contact form.
Sery Content Development is an SEO company in Billings, MT.

